Sunday, March 17, 2013
And I'll huff....and I'll puff....
The first stitchout of the wolf face is done. The ears need to be bigger. The eyes need realigning, some of the fabric shows through, but overall it looks acceptable. The snout also needs to be designed, too. It will be attached on the circle under the eyes. For anyone thinking these are easy to make, I have about 4 hours in the digitizing of the wolf face at this point - not particularly a lot, but not trivial either.
Saturday, March 16, 2013
The living room
The new couch.
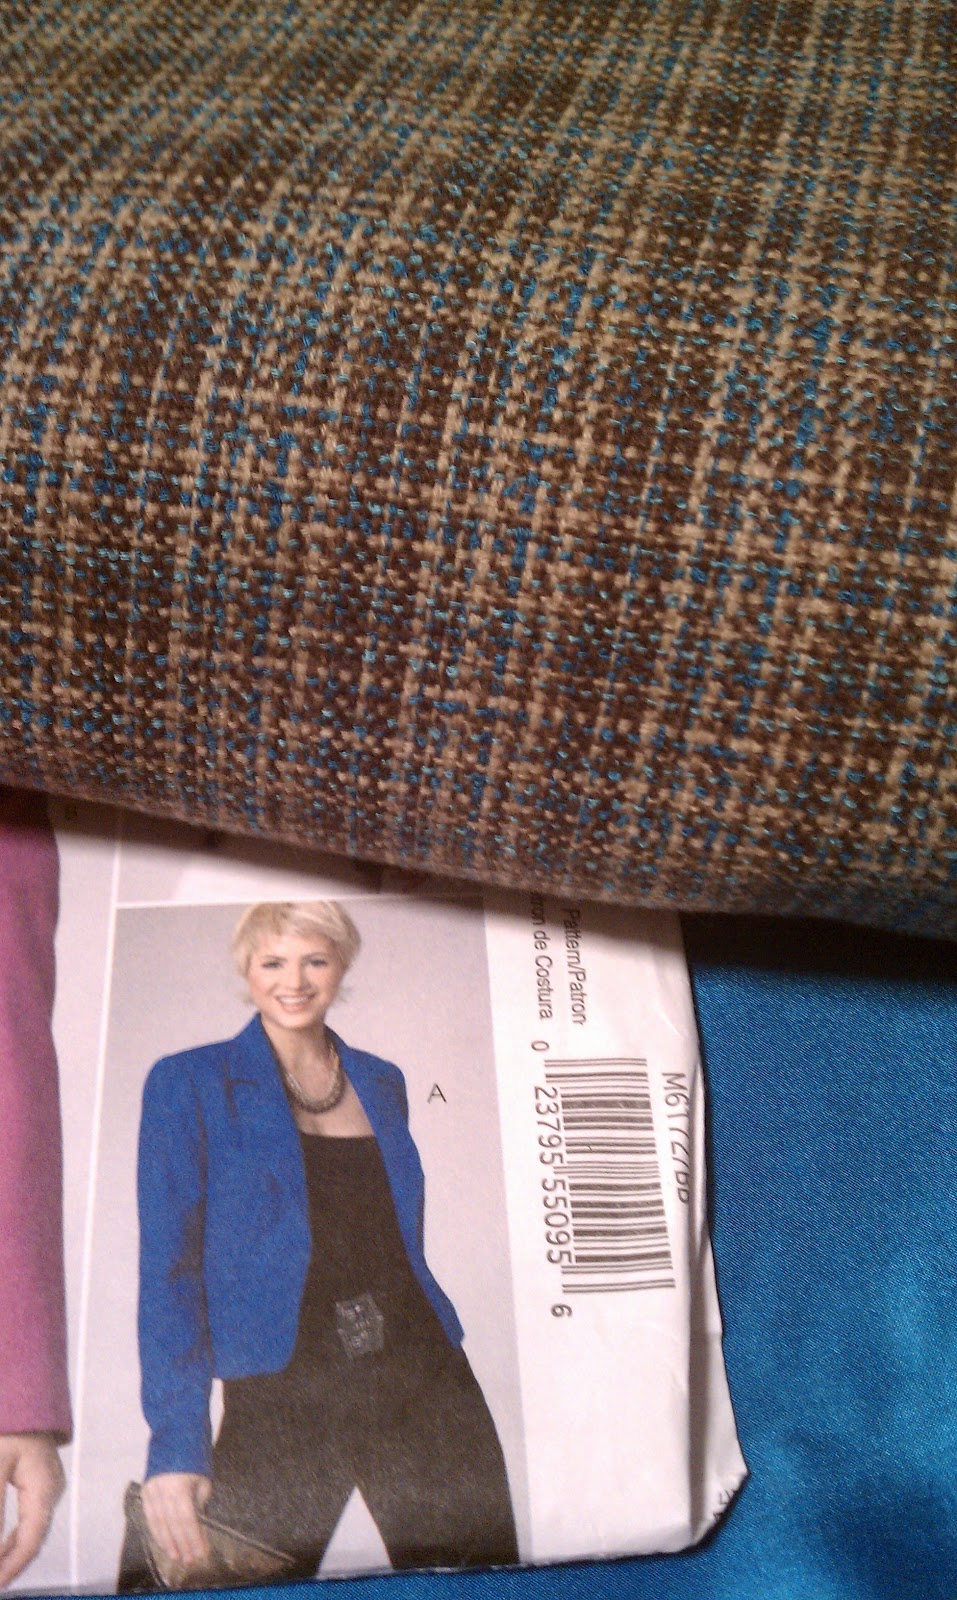
And the two fabrics I'm debating for throw pillows. I think the print. The solid will probably be used to reupholster the old couch in its new basement location.
Wednesday, March 13, 2013
Little pig, little pig....
In a later post, I'll be documenting a doorway puppet theater (held in place by a spring tension rod). The puppets, however, are tonight's subject.
Since the embroidery extravaganza of purses went over so well, I am in the process of making next year's Christmas presents. The plan is to make puppets for all the kids, in a variety of characters, and making a puppet theater for each family. Each puppet will be a combination of embroidery and sewing - embroidered features, outlines, etc and basic stitching for assembly, with some hand stitching thrown in to keep me honest.
After a few of the puppet designs are completed, I will be sharing and/or selling the embroidery files. If there are beta testers who are willing to provide some test data (reports on the stitchout, assembly process, etc), send me an outline of your review procedure & machine details and I will choose a few to receive free files.
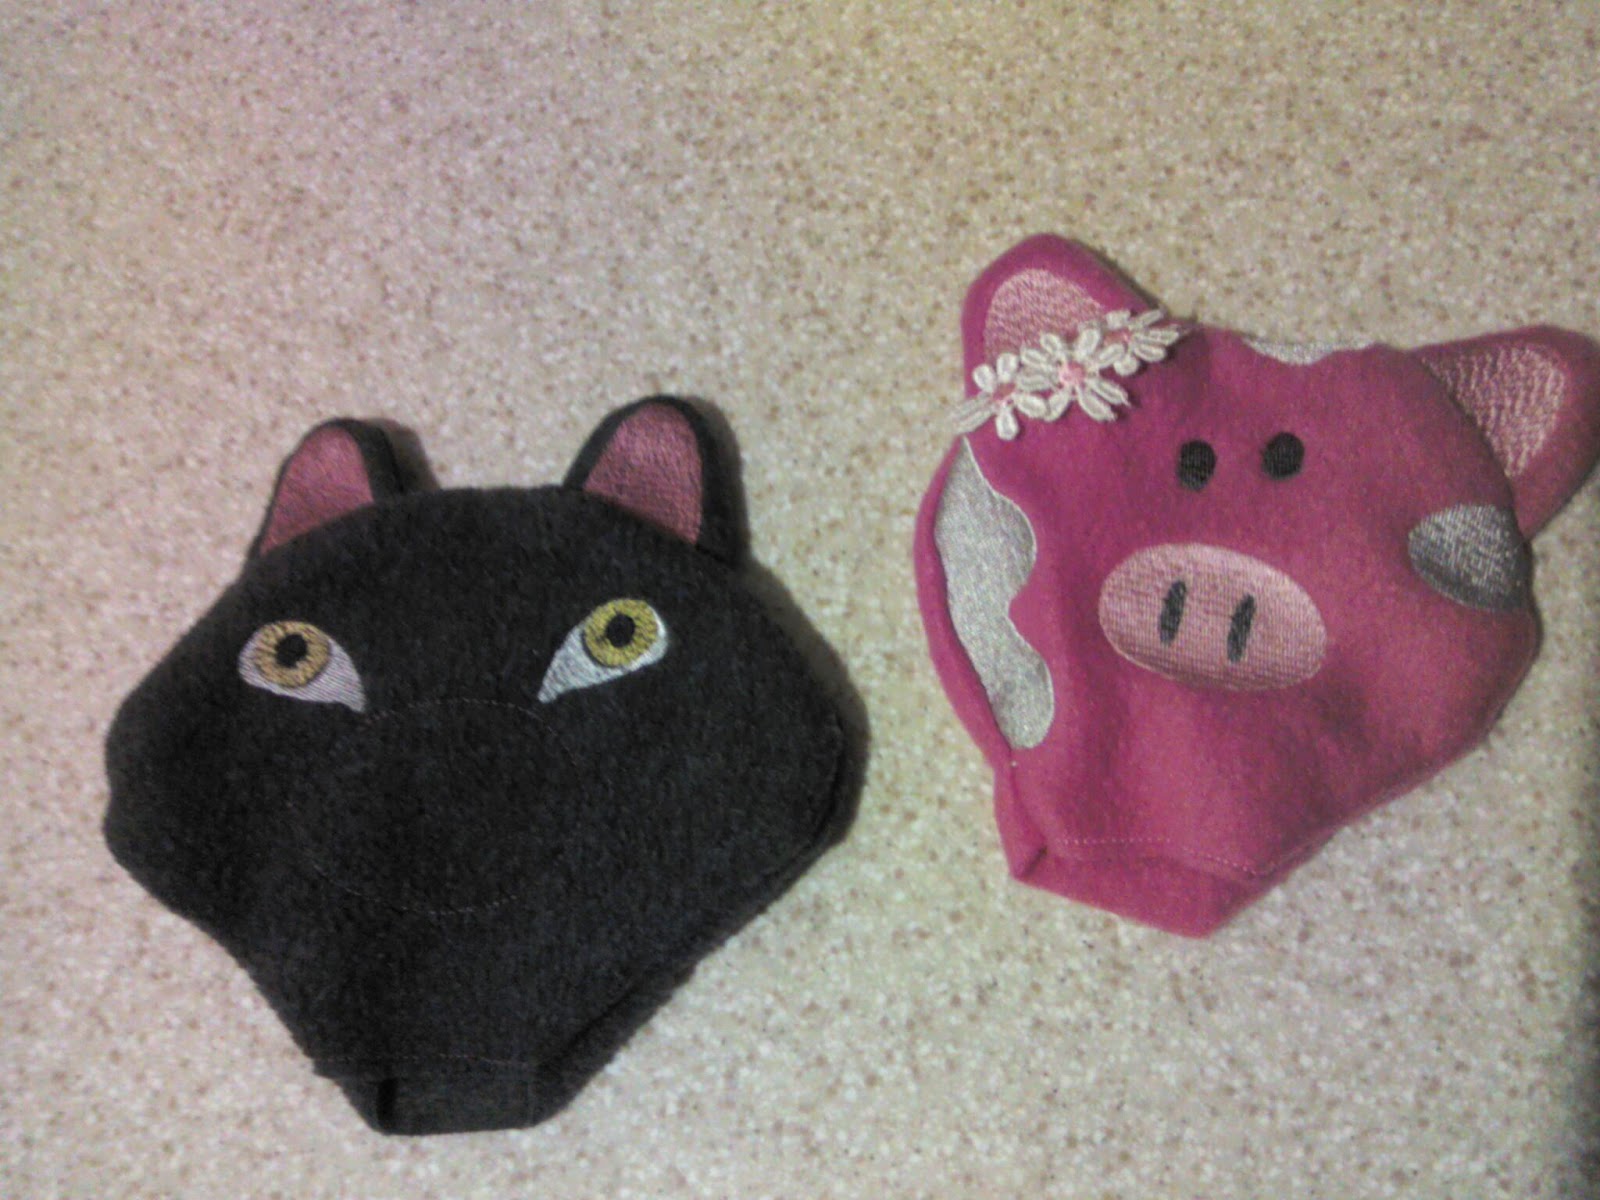
The pig ears, tail, and hooves are stitched out first (with the option of stitching the hooves directly to the pig body or making stand alone hooves). Then, the face is stitched in the hoop, attaching ears and the back of the head last. The body is regular machine sewing with a hem around the bottom. Finally, the heads are stuffed with fiber fill and the body is attached with hand stitching. Hooves, tail, and the bow tie were hand stitched to finish them off.
Approximate fabric usage is 1/3 yard of 54" fleece. (Get remnants, it's not worth paying cut prices). Fleece, anti-pill fleece, soft minky fabrics and terry cloth would all be good choices. Felt would be okay, but I don't like how felt wears with heavy usage and washing.
--Mickey
Wednesday, January 02, 2013
Merry Christmas To Me!
This is meant to be an office-in-a-box sort of thing, so there is lots of space, a file drawer, smaller drawers, pull out printer shelves, storage for small stuff, storage for large stuff. It will work out well. There is even a fold-away work surface that would fold up on the right hand side and tuck into this, and fold down for a desk. It's not in the photos as I haven't decided if it's going to be installed or not.
Clearly, I just shoved every half-finished project into there for now. It needs some organization.
Friday, July 06, 2012
Non-slip headbands
You'll need some nice ribbon, some velvet ribbon, and a bit of elastic. Measure the head over the ears in a loop to the nape of the neck. For a small child this would be about 21". The velvet ribbon should be a discrete color that will not show when it lies against the hair. The nice ribbon will be visible over the head.
Cut three inches of elastic - I'm using soft elastic lace for comfort.
Take the head measurement and subtract three inches, use this measurement for the velvet ribbon and the nice ribbon that will show. I chose 5/8" to give the headband enough width to actually work with heavy hair.
Place the ribbons right sides together and the elastic sandwiched between. Stitch the end with a seam allowance of 1/4" to 3/8" (give or take).
Stitch the other side the same way.
Now, flip the headband to set the ribbons right-side out and stitch the open edges of the ribbon with a straight stitch.
Wear the headband behind the ears with the velvet against the head, the elastic part will be at the nape of the neck, under the back hair.
Enjoy!
--
Thursday, January 26, 2012
Monday, January 02, 2012
Thursday, December 29, 2011
What to do, what to do....
I have some lovely yarn that I have been gifted....reddish is raw silk, orangish is wool. I need suggestions for projects.
Thursday, November 10, 2011
Choo-choo
A new shirt for the little ones. I'm learning to digitize designs, and using coloring pages as my practice material so I can experiment with depth and geometry.
Saturday, May 28, 2011
Achoo!


Yeah, me too. ;-)
--Mickey
Sunday, January 30, 2011
Denim bag for an umbrella stroller


attach onto another pack with a
carabeaner or short length of rope.Measure your stroller at the widest point, this stroller is widest where the wheels fold near the handle, and is about 26" circumference at this point. The length is 42". The bag shall have a square bottom 7" by 7", and an overall length of 44". It is good practice to measure and pin a strip of muslin the circumference of the finished piece and pass the stroller though, ensuring the bag will fit. When in doubt, measure twice before cutting and round up - removing material is far easier than adding.
This dress has some nice details on the front (pintuck, pockets, and a row of buttons that will serve as the bag fasteners) which will be kept for the bag. Therefore, the front will supply 16 inches and the back will supply 12 inches of the final exterior. Your dress may differ, or you may choose to omit some of the details.
Carefully remove any seams or darts that are in the fabric and either rip or cut out seams that must be separated. Measure out front and back and cut the pieces for the long sides of the tube.
The loops are all sewn tubes of denim, about 4 inches cut width, a 1/4" seam, resulting in a loop about 1.5" wide after turning and pressing. The piggyback loops are essentially big belt loops, while the shoulder strap is long enough to slip an arm through for carrying. For ease of design, some of the loops are stitched from the long shoulder strap.
The bottom of the bag is a 8" square, leaving half inch seam allowances on all sides, for a 7" finished size. This is plenty of room for the bottom wheels, and could easily have extra storage room.
sleeves, attached to the neckline after remsving the collar. The sleeve is then attached along the armholes in front, and the flat part of the sleeve is carried over and topstitched to the back panel, just above the shoulder loop. This creates a y-shaped seam in the upper part.
The final touch is a snap to hold the shoulder strap to the bag while not in use. This will help keep the strap from snagging on things as it is loaded into the aircraft.
Sunday, January 23, 2011
Hat and mitten bag

Sunday, December 05, 2010
Go Diego!

Toy potholders
Saturday, November 27, 2010
Sewing for xmas gifts

For the new babies, or not-so-new babies on your list, a taggie blanket from loops of old ribbon (or ribbon scraps, check the remnants section, you only need a couple inches of any one) and about 1 square foot of fabric for each side, and I threw a layer of batting in between to give it some heft. Pin the ribbons to the right side of the front fabric, the back fabric (right side together with the front/ribbons), and the batting on the wrong side. Stitch everything around, tacking in extra at the ribbons where they'll be tugged, and leave an opening about 1.5 inches wide to turn the project. Turn it out, finish it off, and you have a custom gift in less than half an hour. Make it extra special with the child's name in big block letters, or a cute image. I make most of these with old flannel shirts for one side and curtain material or juvenile clothing material for the other. Sometimes I find a remnant of something especially silky or whatever, as long as it's machine washable, I'll put it on.
Monday, November 15, 2010
Cool shades
I had to edit the pattern from Molly Mine so that the lens material is sandwiched between the front and back halves of the frame. This enabled me to use a stiffer material for the lenses. Since I know my kids will want to use these as real sunglasses, I asked around the local eye doctors and found a supplier for post-mydriatic spectacles (temporary sunglasses given to patients after dialation of the pupils). The lenses are cut from that material, and are completely safe to use as actual sunglasses. Craft foam gives these glasses some shape and stiffness, and I tried to use a variety of colors and patterns for the fabric.
--

Tuesday, October 19, 2010
Monday, October 04, 2010
Pennies and Quarters....

The penny needs some work - the color for Lincoln looks much better on the patterned fabric than the more golden color I chose for the 1.
Tuesday, August 31, 2010
Mirror, mirror, in my hand....