The new couch.
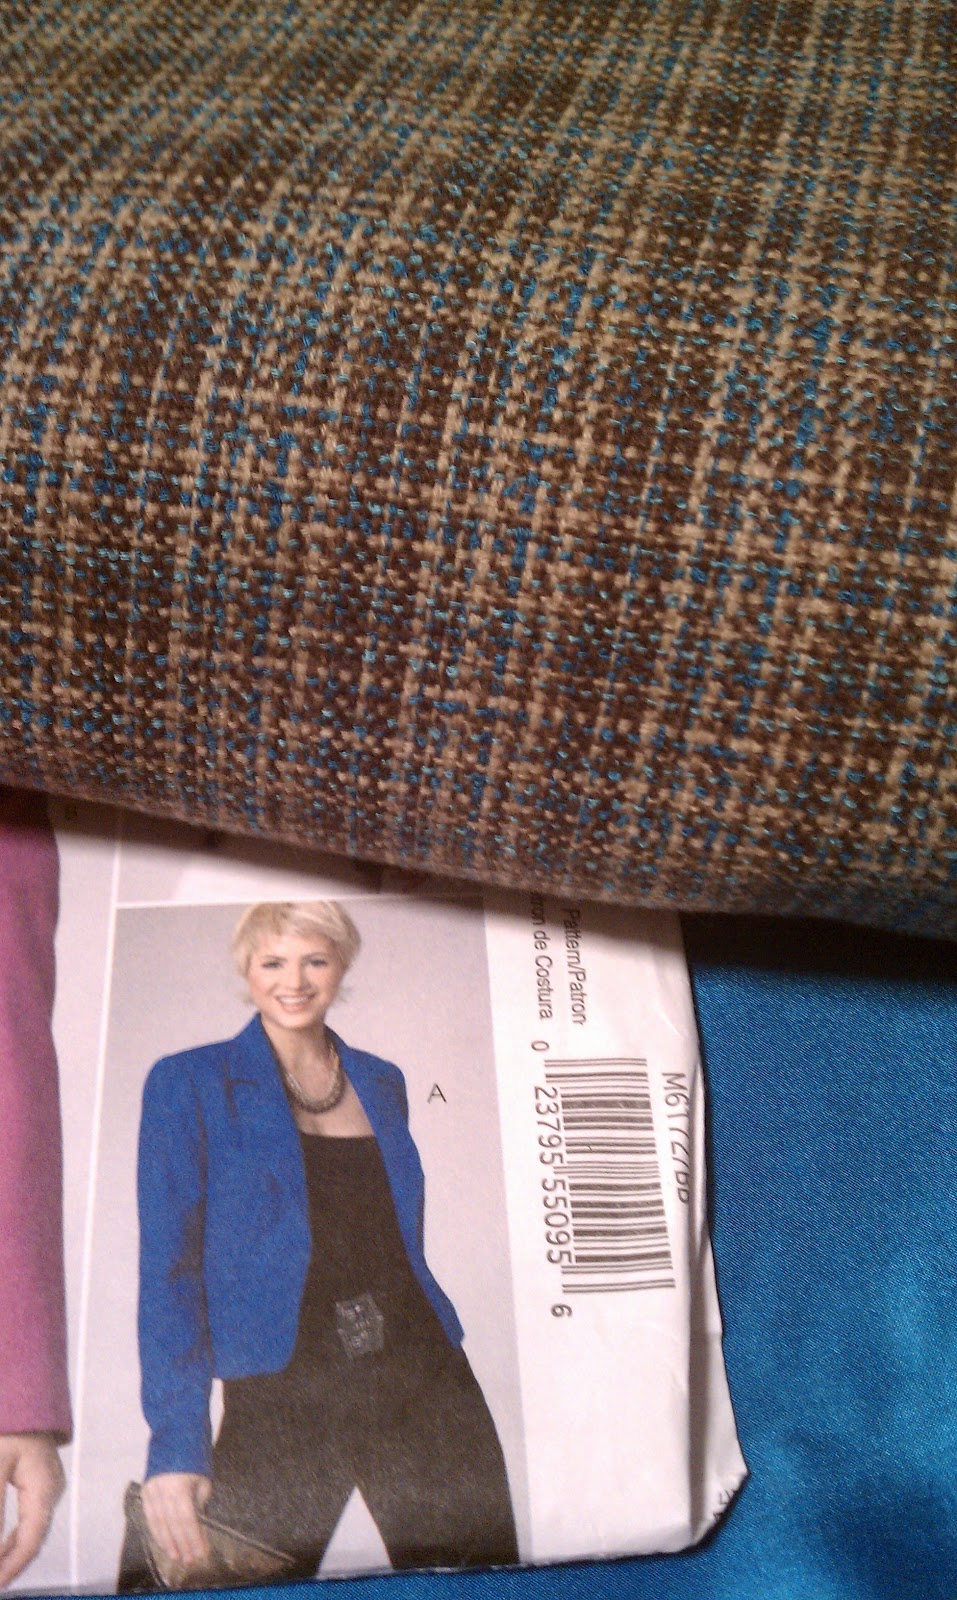
And the two fabrics I'm debating for throw pillows. I think the print. The solid will probably be used to reupholster the old couch in its new basement location.


The new couch.
And the two fabrics I'm debating for throw pillows. I think the print. The solid will probably be used to reupholster the old couch in its new basement location.
In a later post, I'll be documenting a doorway puppet theater (held in place by a spring tension rod). The puppets, however, are tonight's subject.
Since the embroidery extravaganza of purses went over so well, I am in the process of making next year's Christmas presents. The plan is to make puppets for all the kids, in a variety of characters, and making a puppet theater for each family. Each puppet will be a combination of embroidery and sewing - embroidered features, outlines, etc and basic stitching for assembly, with some hand stitching thrown in to keep me honest.
After a few of the puppet designs are completed, I will be sharing and/or selling the embroidery files. If there are beta testers who are willing to provide some test data (reports on the stitchout, assembly process, etc), send me an outline of your review procedure & machine details and I will choose a few to receive free files.
The pig ears, tail, and hooves are stitched out first (with the option of stitching the hooves directly to the pig body or making stand alone hooves). Then, the face is stitched in the hoop, attaching ears and the back of the head last. The body is regular machine sewing with a hem around the bottom. Finally, the heads are stuffed with fiber fill and the body is attached with hand stitching. Hooves, tail, and the bow tie were hand stitched to finish them off.
Approximate fabric usage is 1/3 yard of 54" fleece. (Get remnants, it's not worth paying cut prices). Fleece, anti-pill fleece, soft minky fabrics and terry cloth would all be good choices. Felt would be okay, but I don't like how felt wears with heavy usage and washing.
--Mickey


I have some lovely yarn that I have been gifted....reddish is raw silk, orangish is wool. I need suggestions for projects.

A new shirt for the little ones. I'm learning to digitize designs, and using coloring pages as my practice material so I can experiment with depth and geometry.


Yeah, me too. ;-)
--Mickey


 attach onto another pack with a
  carabeaner or short length of rope.
 This dress has some nice details on the front (pintuck, pockets, and a row of buttons that will serve as the bag fasteners) which will be kept for the bag. Therefore, the front will supply 16 inches and the back will supply 12 inches of the final exterior. Your dress may differ, or you may choose to omit some of the details.
 Carefully remove any seams or darts that are in the fabric and either rip or cut out seams that must be separated. Measure out front and back and cut the pieces for the long sides of the tube.

 The loops are all sewn tubes of denim, about 4 inches cut width, a 1/4" seam, resulting in a loop about 1.5" wide after turning and pressing. The piggyback loops are essentially big belt loops, while the shoulder strap is long enough to slip an arm through for carrying. For ease of design, some of the loops are stitched from the long shoulder strap.
 The bottom of the bag is a 8" square, leaving half inch seam allowances on all sides, for a 7" finished size. This is plenty of room for the bottom wheels, and could easily have extra storage room.
 sleeves, attached to the neckline after remsving the collar. The sleeve is then attached along the armholes in front, and the flat part of the sleeve is carried over and topstitched to the back panel, just above the shoulder loop. This creates a y-shaped seam in the upper part.


